One of the many benefits to the Uniden 125XLT (and other Uniden models of radio scanner) is the ability to connect it to a PC for programming, rather than having to use the tiny keypad and volume dial to enter names and frequencies.
It’s usually sensible to maintain your ‘master list’ of frequencies in a separate file – whatever works for you, be it a database, spreadsheet, or even just a text file. You can then add/remove/modify frequencies, sort them into groups, and generally practice good data hygiene.
One of the tools to get data onto the scanner is the excellent Scan125 by Nick Bailey (https://www.nick-bailey.co.uk/scan125).
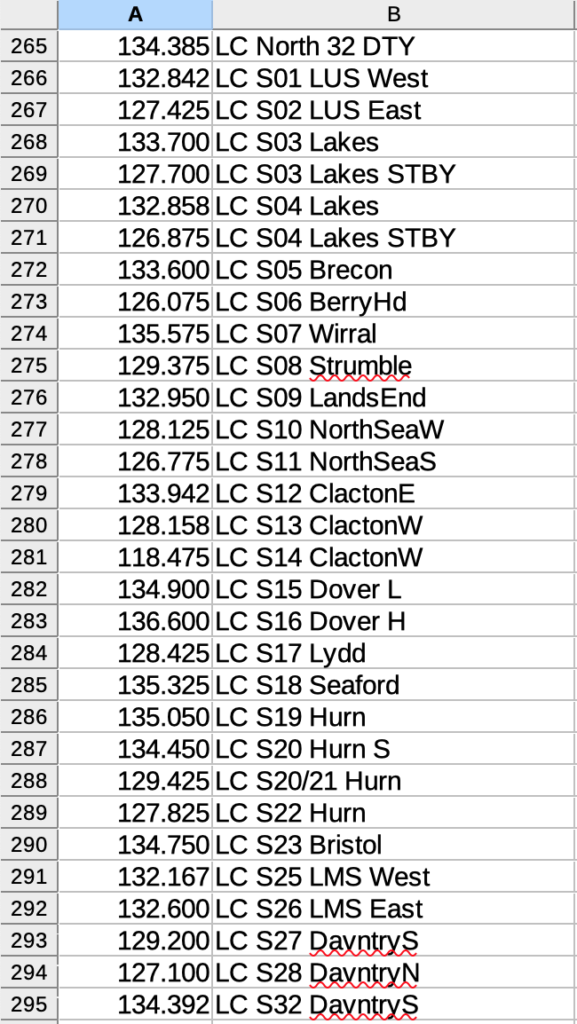
Let’s start with creating our CSV file. Keep it simple: all you really need are frequency and name. Bear in mind the 125 has a maximum name length of 16 characters, and is a bit ‘fussy’ about special characters, so don’t try using things like + in your channel names.
Once you’ve saved your CSV, you’ll need to feed it into Scan125Convert.
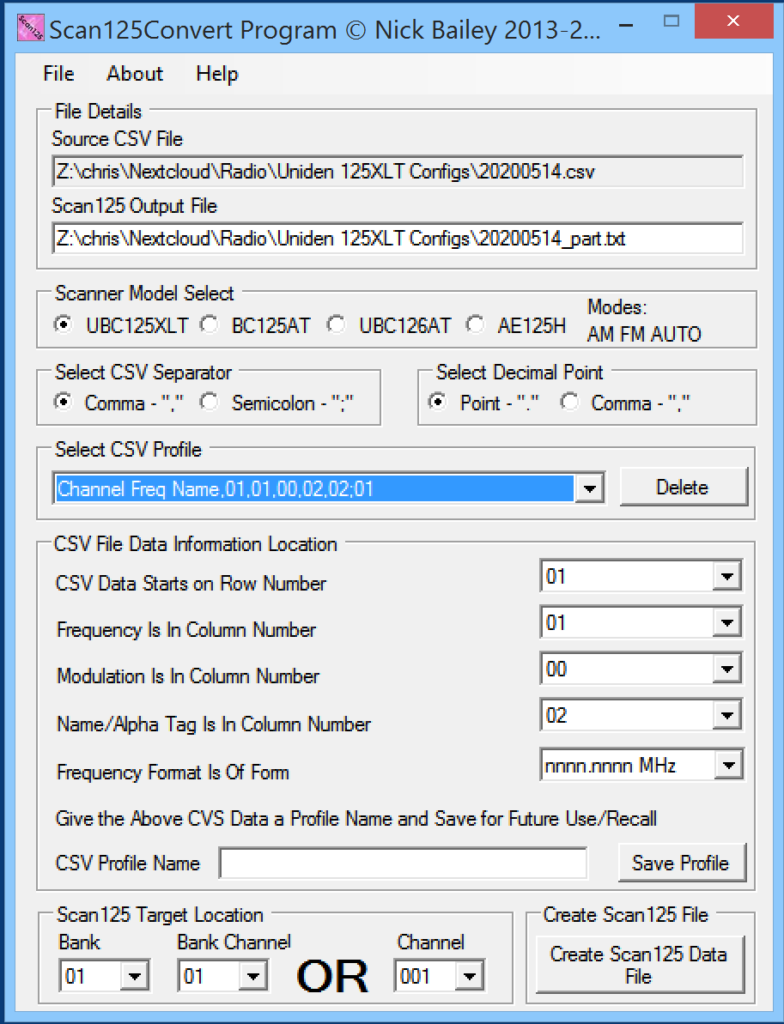
There are a few parameters on this page you’ll need to set up according to your CSV. At the very minimum you’ll need to tell it what column things are in. As you can see from the screenshot, I’ve told it that my data starts from row 1 (if you had headers in your CSV, you might need to start from row 2), my frequencies are in column 1, and my names are in column 2. I don’t have modulation in my CSV so I tell Scan125Convert that’s in column 0 (as in, doesn’t exist).
You can also specify where you want the frequencies to start from, which might be useful if you already have stuff you don’t want to overwrite in the scanner’s early banks/channels.
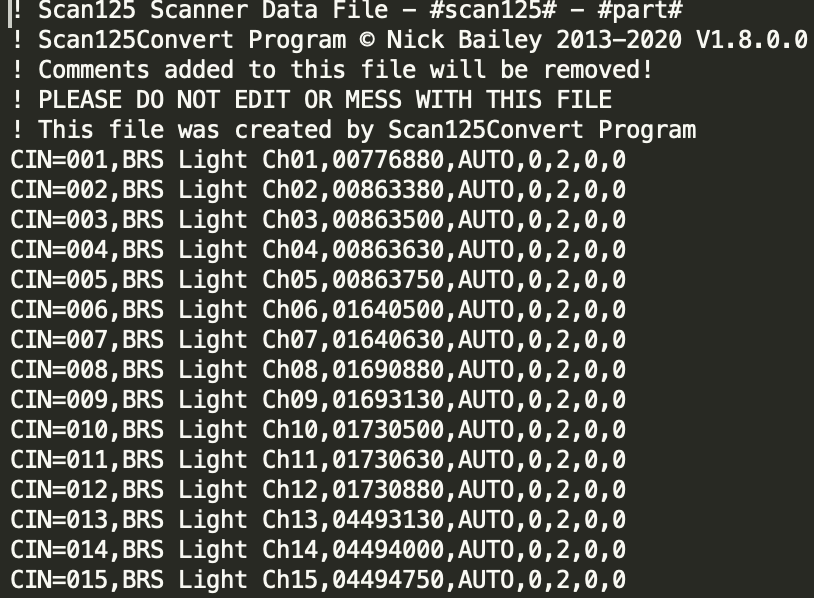
Go ahead and create the data file. You should end up with something like this:
Once you have that file, you can then upload it to the scanner via Scan125 in the normal way.